Step by Step Guide to Install Windows 7
A clean install is intended for users who want to freshly install Windows on their computer (by deleting all of the data on the hard disk and then installing Windows) or computers that do not have an operating system yet.
1.
Enter your computer’s BIOS. Turn off the computer that you want to install Windows on then turn it back on. When the BIOS screen appears or you are prompted to do so, press ? Del, ? Esc, F2, F10, or F9 (depending on your computer’s motherboard) to enter the system BIOS. The key to enter the BIOS is usually shown on the screen.
2.
Find your BIOS’s boot options menu. The boot options menu of your BIOS may vary in location or name from the illustration, but you may eventually find it if you search around.
If you can’t find the boot options menu, search the name of your BIOS (most likely located in the BIOS menu) online for help.
3.
Select the CD-ROM drive as the first boot device of your computer.
Although this method may vary among computers, the boot options menu is typically a menu of moveable device names where you should set your CD-ROM drive as the first boot device. It can also be a list of devices that you can set the order of their boot on. Consult a manual or the internet for help if you’re stuck.
4.
Save the changes of the settings. Press the button indicated on the screen or select the save option from the BIOS menu to save your configuration.
5.
Shut off your computer. Either turn off the computer by choosing the shut-down option in your current operating system, or hold the power button until the computer powers off.
6.
Insert the Windows 7 disc into your disc drive.
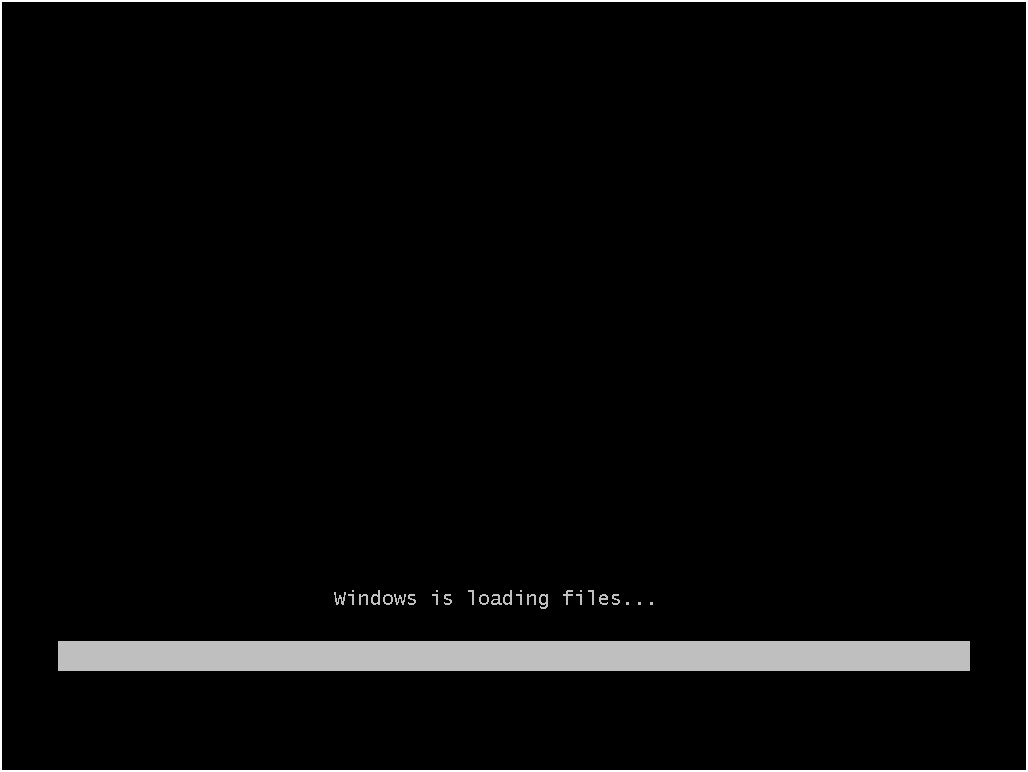
Load in your Windows 7 DVD and boot it. It will now load the setup files.

Select your language, time & currency format, keyboard or input method and click Next.

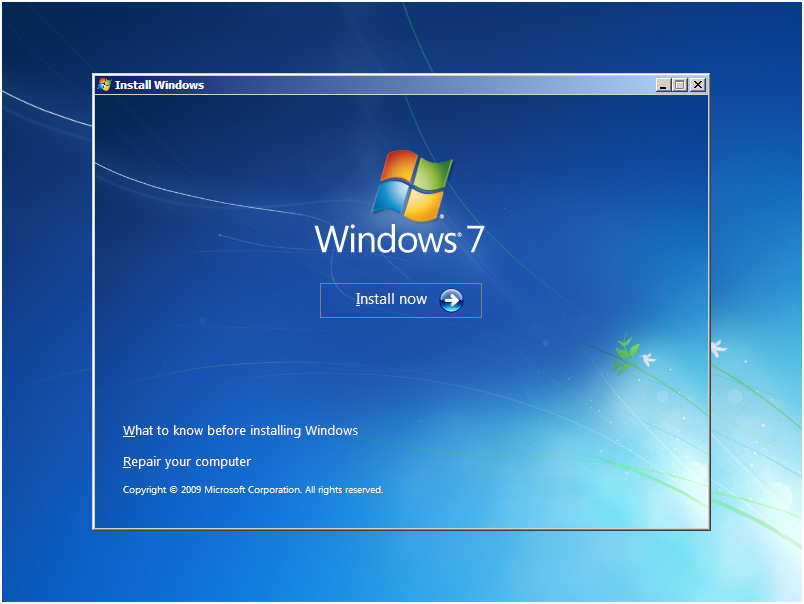
Click Install now.
Check I accept the license terms and click Next.

Click Upgrade if you already have a previous Windows version or Custom (advanced) if you don’t have a previous Windows version or want to install a fresh copy of Windows 7.

(Skip this step if you chose Upgrade and have only one partition) Select the drive where you want toinstall Windows 7 and click Next. If you want to make any partitions, click Drive options (advanced), make the partitions and then click Next.
“divide” hard drives into separate parts.
If the hard drive has data on it, delete the data off of it, or format it.
Select the hard drive from the list of hard drives.
Click Drive options (advanced).
Click Format from Drive options.
If your computer doesn’t have any partitions yet, create one to install Windows on it.
Select the hard drive from the list of hard drives.
Click Drive options (advanced).
Select New from Drive options.
Select the size, and click OK.
Install Windows on your preferred hard drive and partition. Once you’ve decided on where to install Windows, select it and click Next. Windows will begin installing.

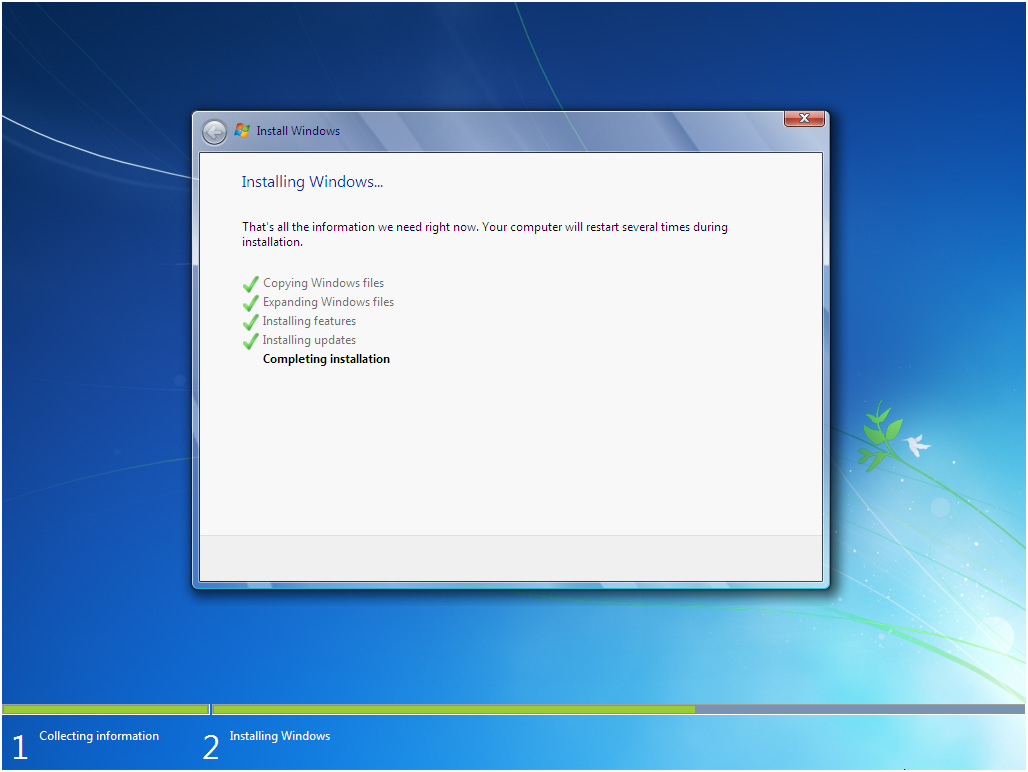
It will now start installing Windows 7. The first step, (i.e. Copying Windows files) was already done when you booted the Windows 7 DVD so it will complete instantly.

After completing the first step, it will expand (decompress) the files that it had copied.
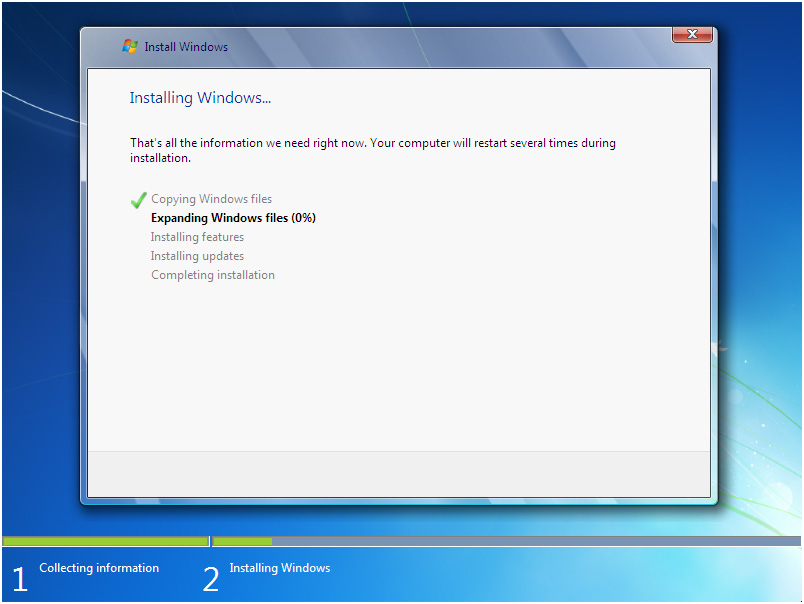

The third and fourth step will also complete instantly like the first step.


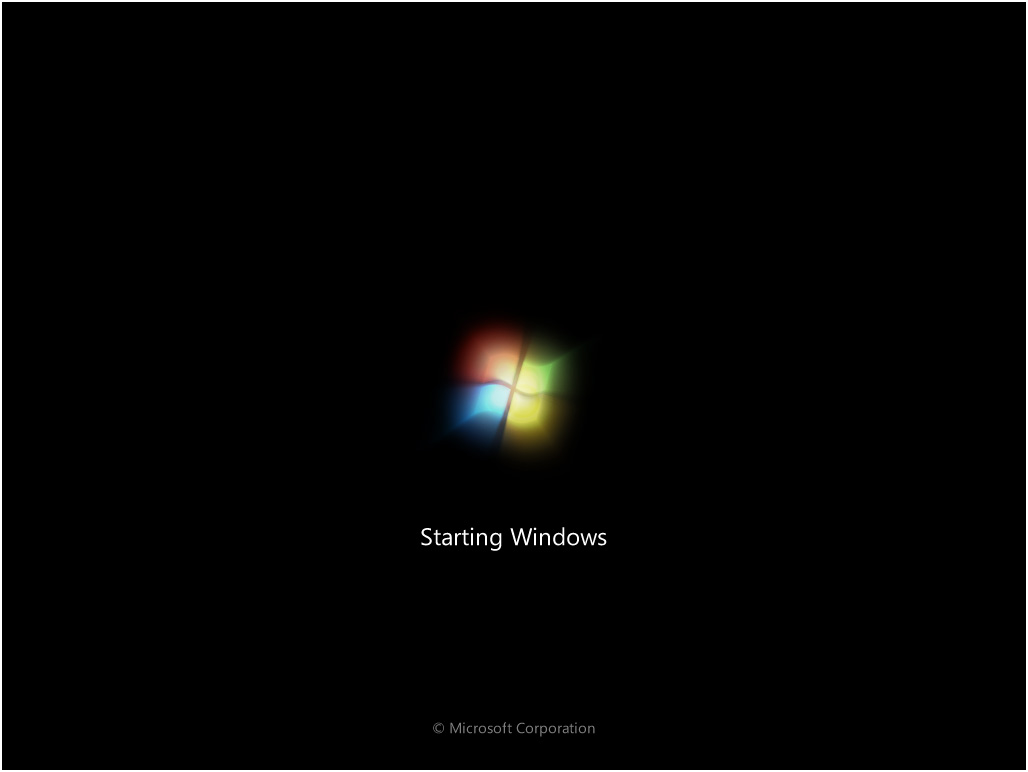
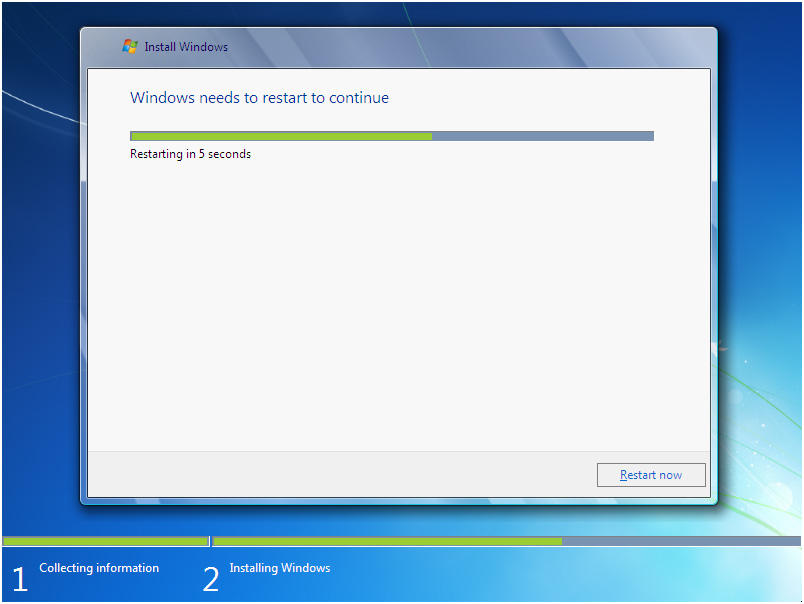
After that it will automatically restart after 15 seconds and continue the setup. You can also click Restart now to restart without any delays.


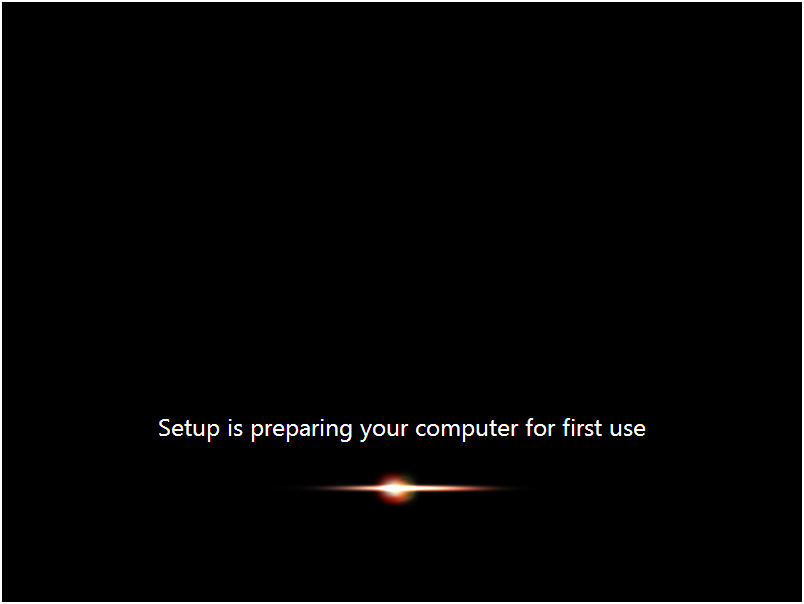
After restarting for the first time, it will continue the setup. This is the last step so it will take the most time than the previous steps.
It will now automatically restart again and continue the setup. You can click Restart now to restart without any delays.


Type your desired user name in the text-box and click Next. It will automatically fill up the computer name.

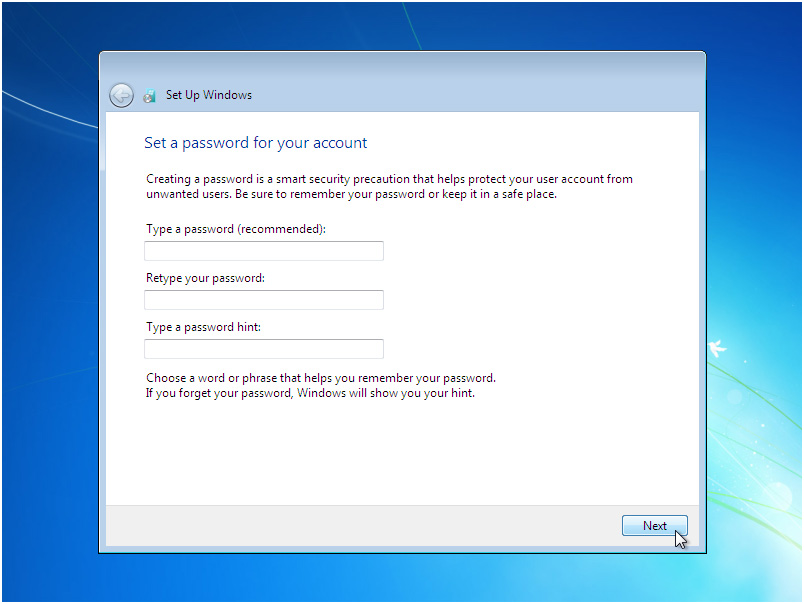
If you want to set a password, type it in the text-boxes and click Next.

Type your product key in the text-box and click Next. You can also skip this step and simply click Next if you want to type the product key later. Windows will run only for 30 days if you do that.
Type your product key in the text-box and click Next. You can also skip this step and simply click Next if you want to type the product key later. Windows will run only for 30 days if you do that.

Select your desired option for Windows Updates.

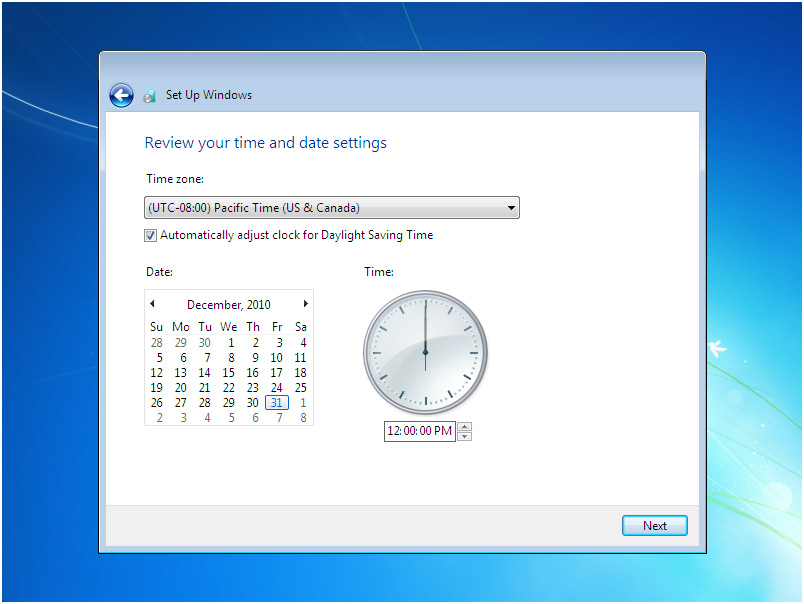
Select your time zone and click Next.
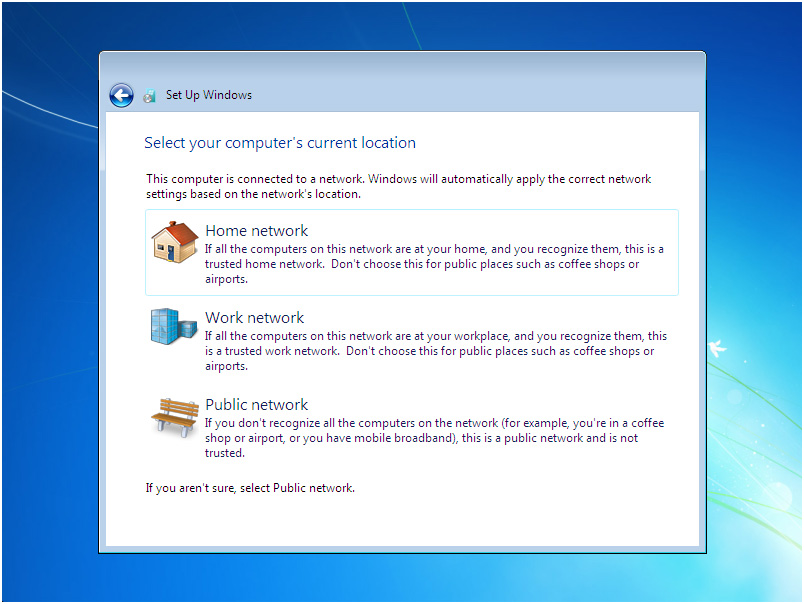
If you are connected to any network, it will ask you to set the network’s location.


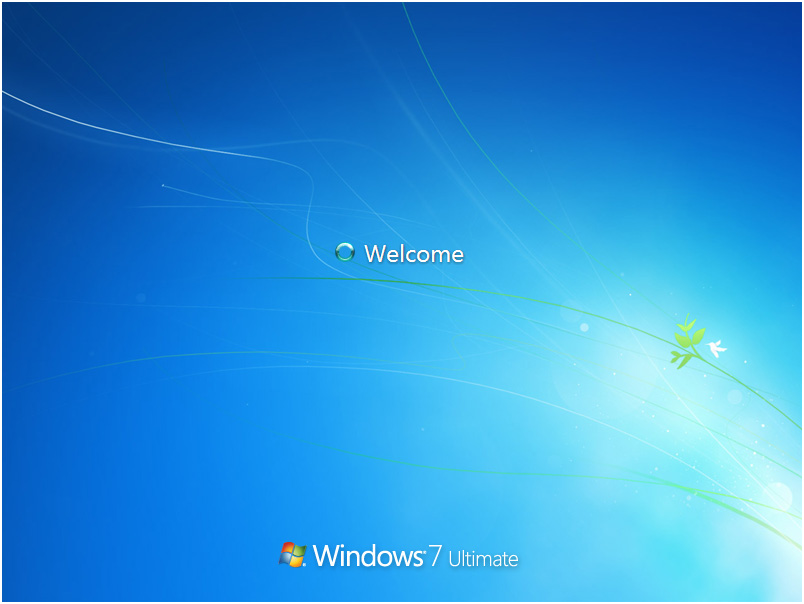

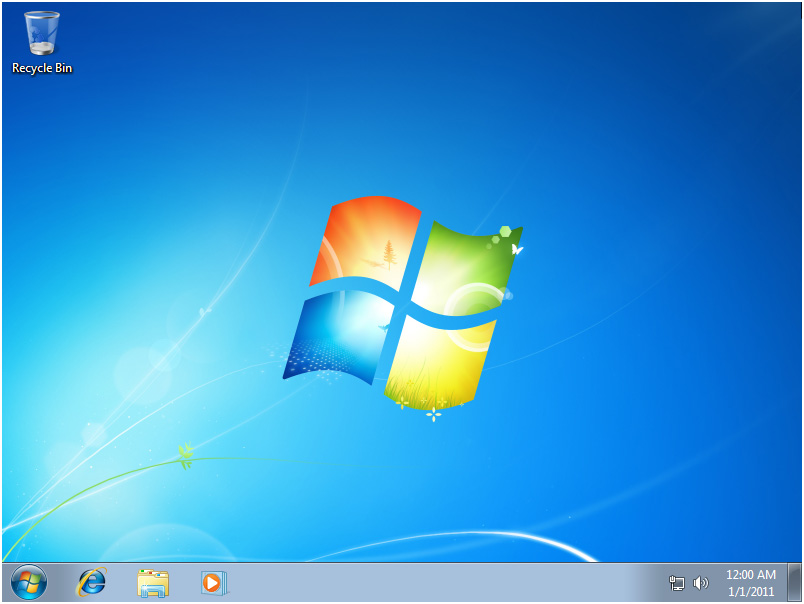
YOU ARE ALL DONE!